We got chickens! That’s right, we are the proud owner of a flock of 7 backyard chickens. The goal is egg production but they have proved to be a great source of entertainment. This has been really fun for the family.
We got the chicks at Easter. They were actually really hard to find this year. All the feed stores said that the late cold snap earlier this spring put a big dent in the chick harvest. Some stores would get a big shipment of chicks in the morning and they would be gone by the end of the day. It took us a couple of trips to assemble our flock but we finally arrived at three Barred Rocks (black and white), two Orpingtons (yellow), and two Americanas (brown).
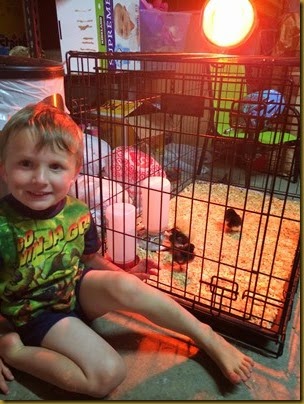
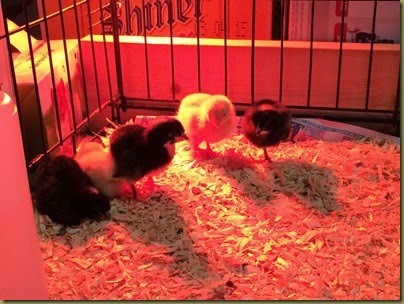
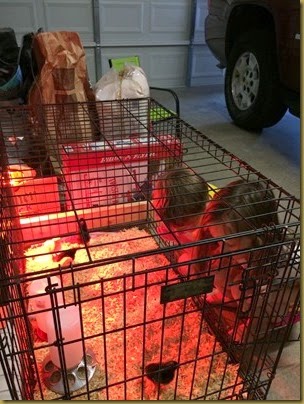
While they were little, we set them up in the garage in a dog kennel
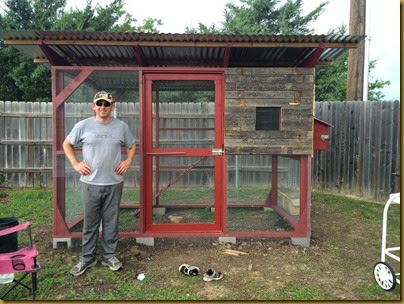
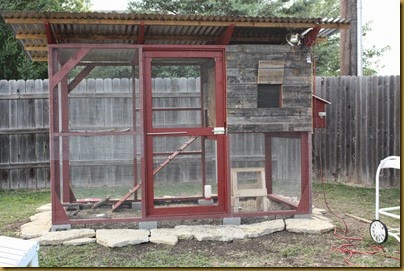
Pretty soon I started building a permanent home for them in the backyard. I purchased some plans from
The Garden Coop. They were great plans and had lots of the details already worked out so it eliminated some of the thinking that goes with any building project. I made a few tweaks to the plans.
- I used tin for the roof material to give more shade during the Texas summers.
- The siding came from some old fence panels that a neighbor put on the curb.
- I used Home Depot barn and fence paint for the wood. It came pre-mixed and the price was great. I bought two gallons but only used one.
- Our soil is rocky, so I kept all the rocks I found when digging the foundation holes and trench. Then before I buried the wire, I dumped all the rocks along the bottom of the trench for an added layer of protection.
Here are some pictures of the finished product. Jennifer wants to add a Texas star to one side and maybe some climbing ivy on the other to provide some shade.
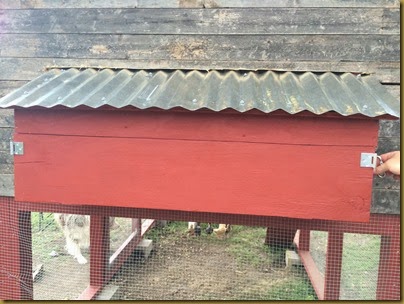
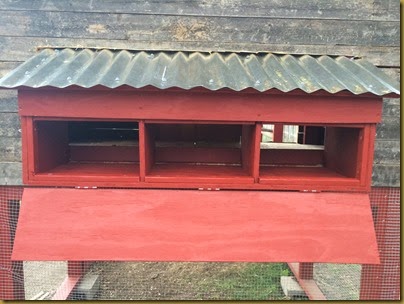
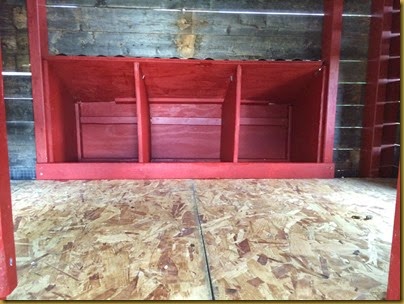
External nesting boxes. Hopefully we get lots of use out of these.
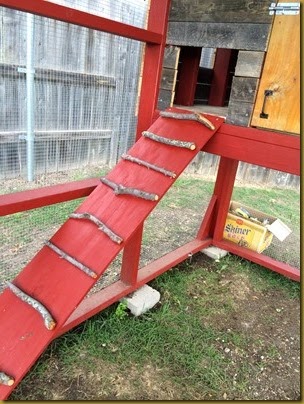
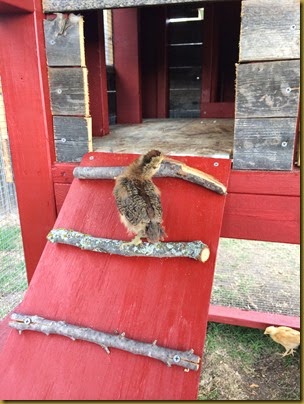
Chick ladder
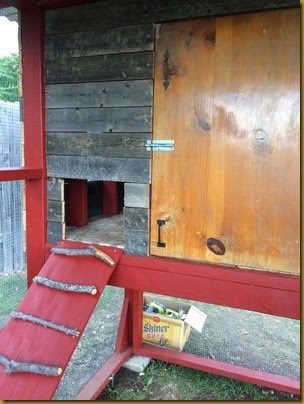
Jennifer picked up this old cabinet door in the neighborhood a while back. I was glad to finally put it to good use.
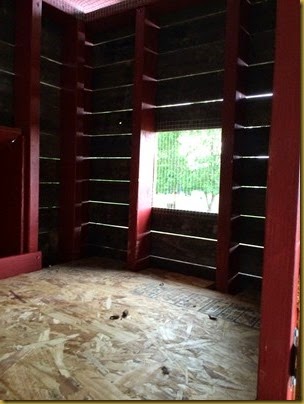
Inside of hen house
I added these windows covered by hardware cloth with some external shutters. They add light and ventilation. I also skipped the floating interior walls to provide a little more ventilation to the hen house.
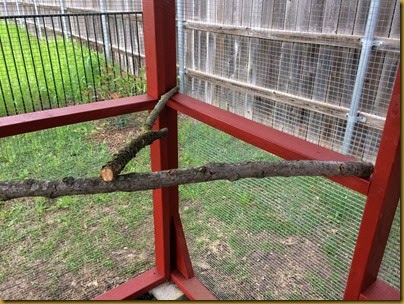
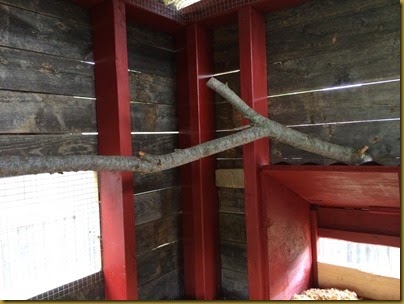
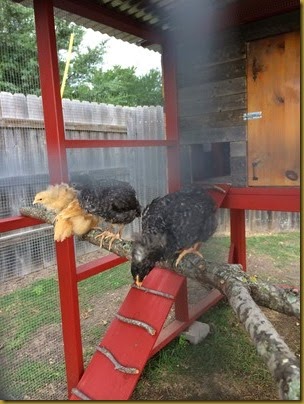
Roosting branches. We had a big storm come through while I was building that knocked down several trees so I had lots of branches to choose from. The chickens love these.

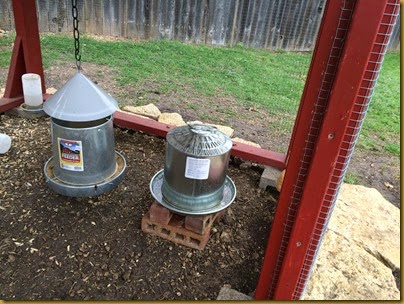
Food and water
I ended up adding some rock around the base because even though the wire was buried, Broady kept digging and making a mess. We kept the heat lamp for the first couple of weeks they were outside because it was still getting pretty chilly at night.
Here are the chicks on move-in day


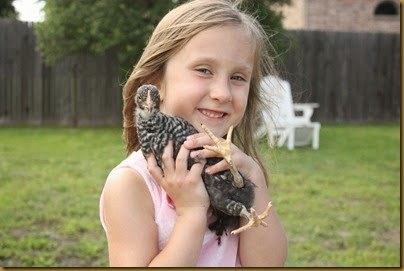
Overall, it was a really fun project and has added a neat element to our backyard. The chickens are really happy and we haven’t had any pest or snake problems yet. Here are a few more pictures of our kids with the chickens. They have grown really quickly. They spend a lot of time free ranging in the backyard, but it is nice to know they have plenty of room when they do need to be in the coop

